ezyVet Admins - Chapter 1
Invoice Screen Changes
Make invoicing quick and easy with increased customization and improved functionality, to provide a more tailored experience for your team, and your customers
Make invoicing quick and easy with increased customization and improved functionality, to provide a more tailored experience for your team, and your customers
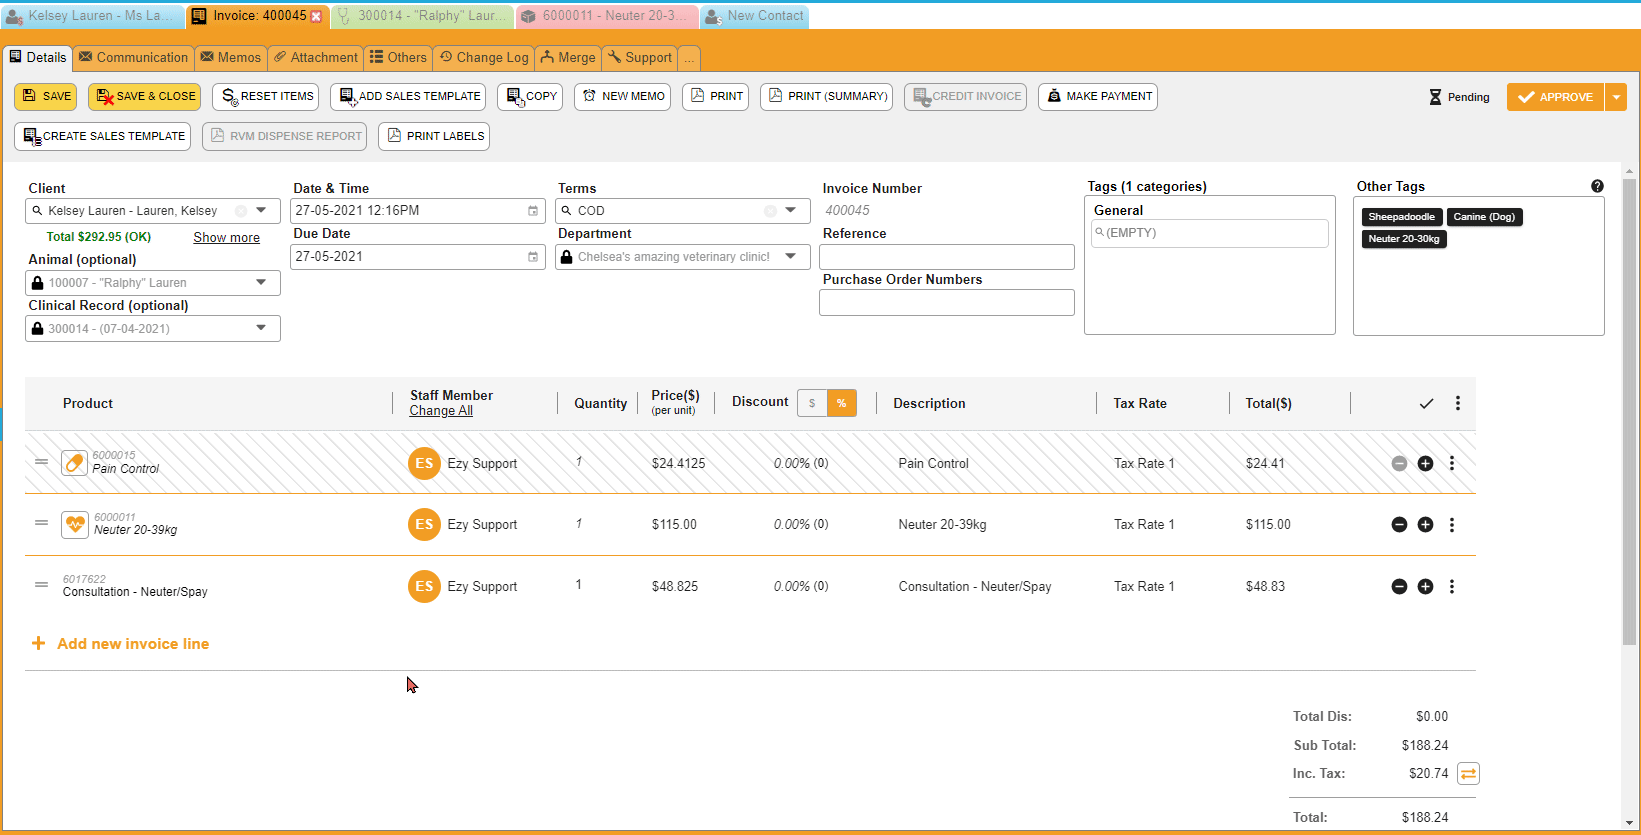
In Version 30, we value the integrity of the clinical record, therefore, there is a change in the standard workflow for editing items within the invoice by introducing the Source Record Button giving you direct access to where the billing trigger was added.
To make a change on the invoice:
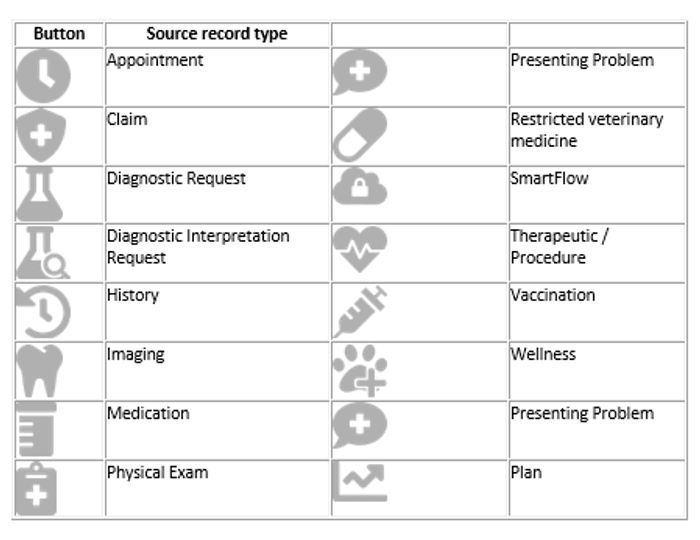
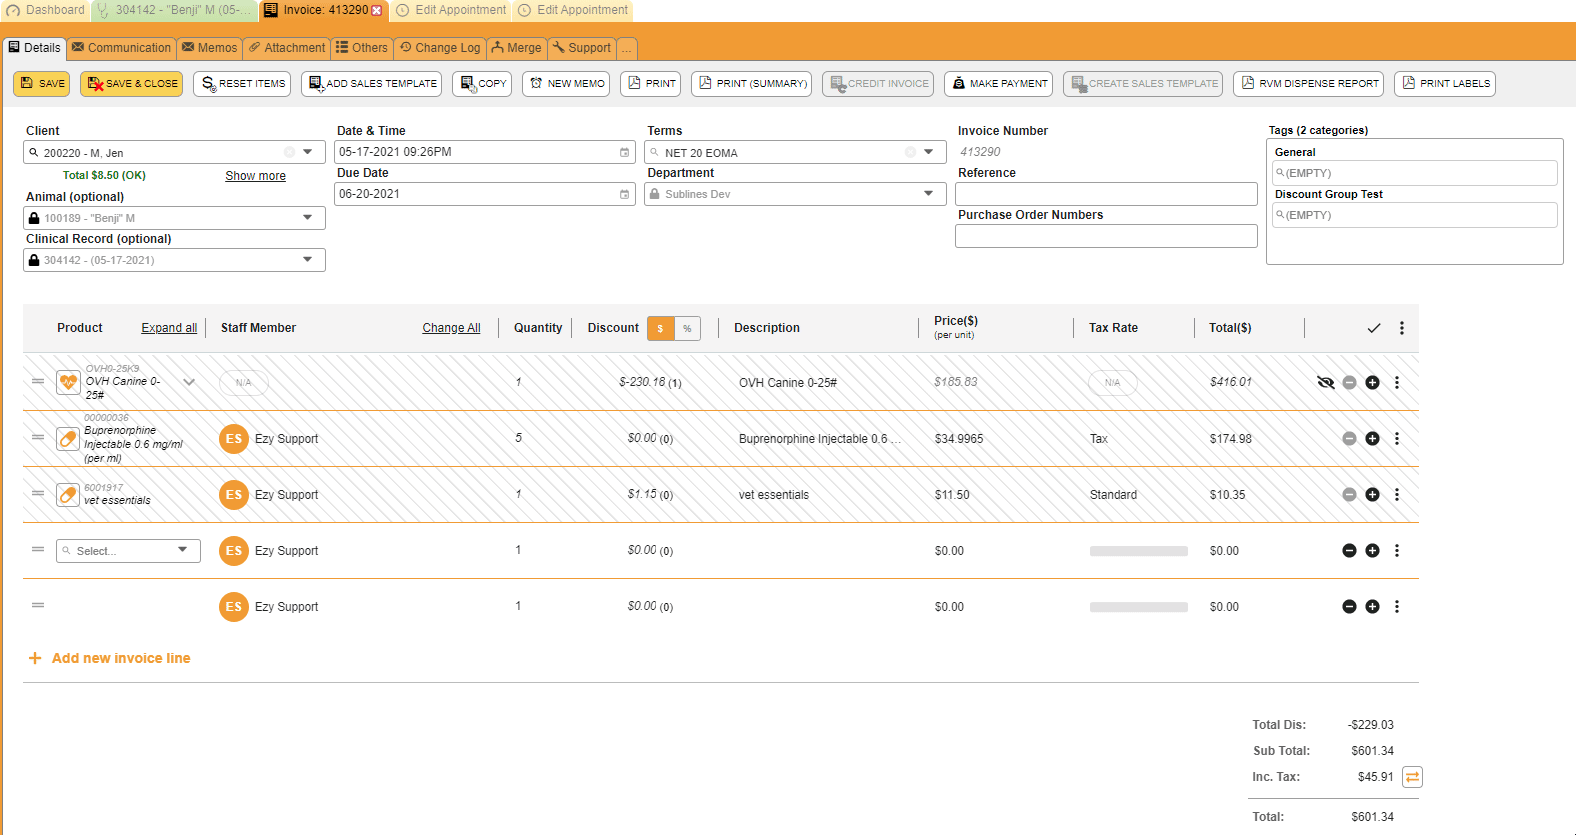
There are multiple source records that you can access from the Invoice Screen, check out what each of the source record buttons represents --->
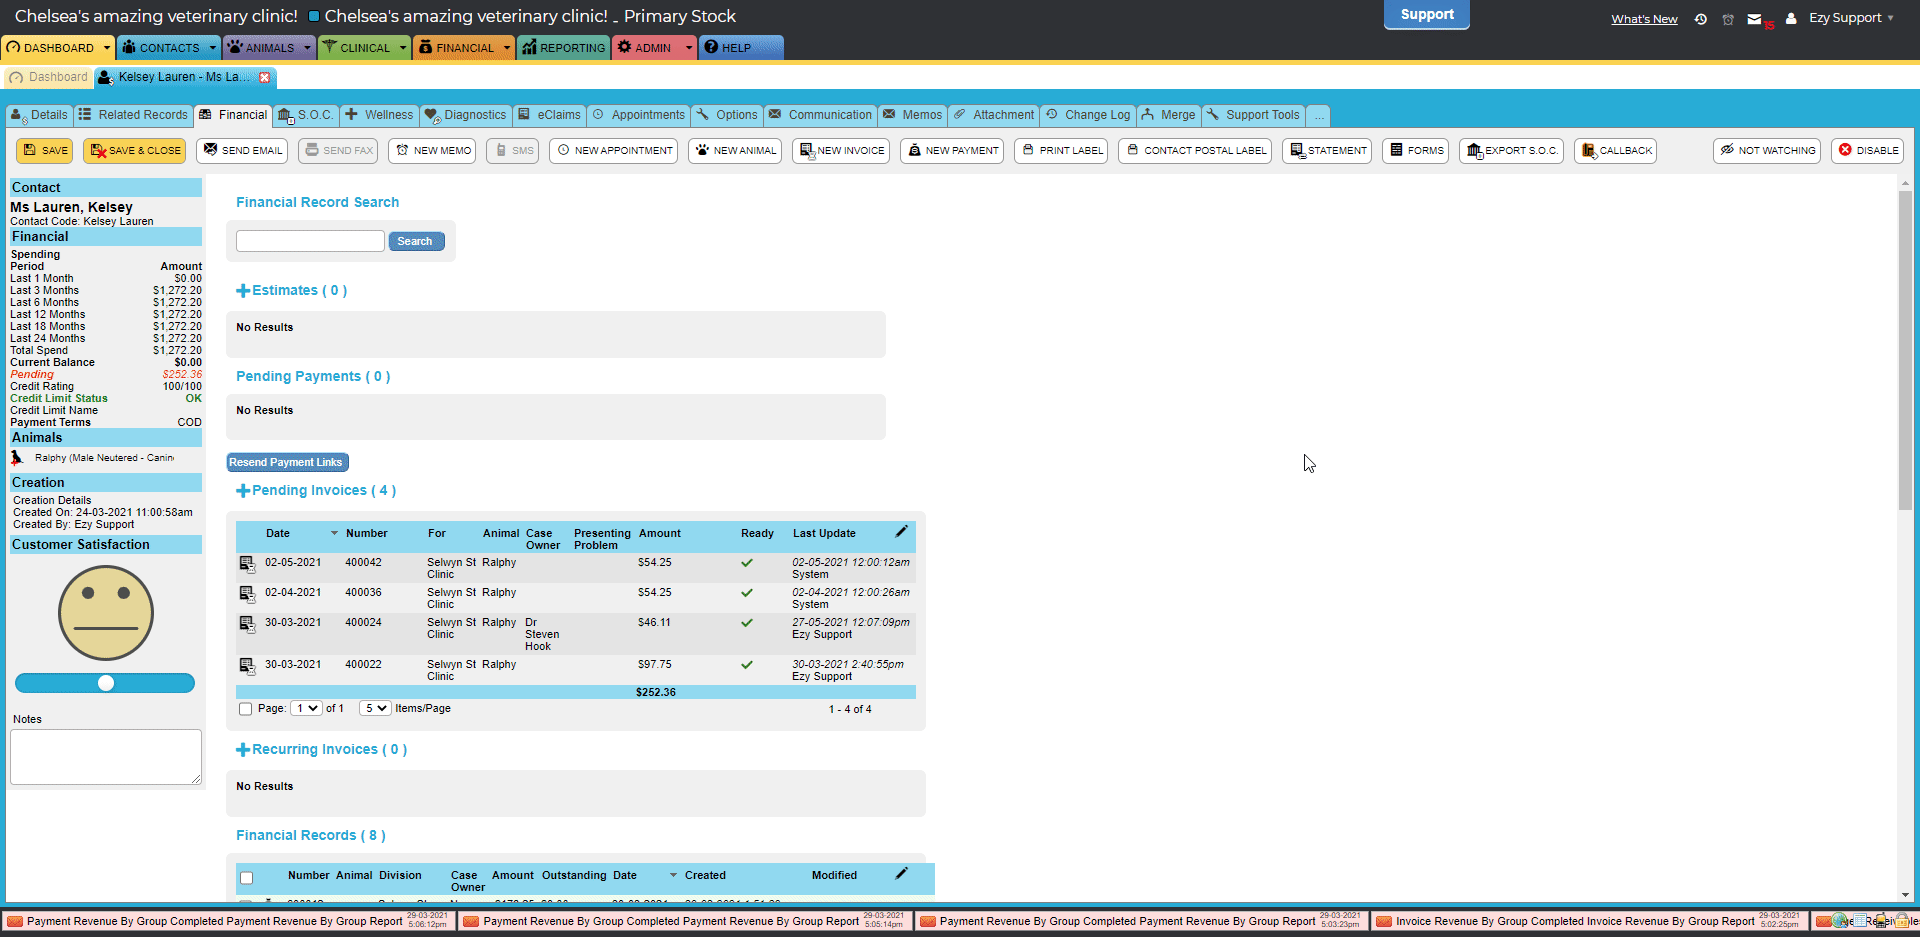
See the status of the invoice at first glance and make any changes in the top righthand corner, you no longer need to scroll down to the bottom of the invoice.
Version 30 changes the 'Not Ready for Billing' functionality to be included in the invoice status, simplifying your Not Ready for Billing workflow.
Move the invoice from Pending, Not Ready for Billing, Approved, and Disabled with ease.
Want to learn more?
Dive deeper with the ezyVet Help Guide for more information on the new Approval button and simplified billing statuses. Head to the Help Tab in your ezyVet site and search Approve an invoice (v30) and Set an invoice to not ready for billing (v30).
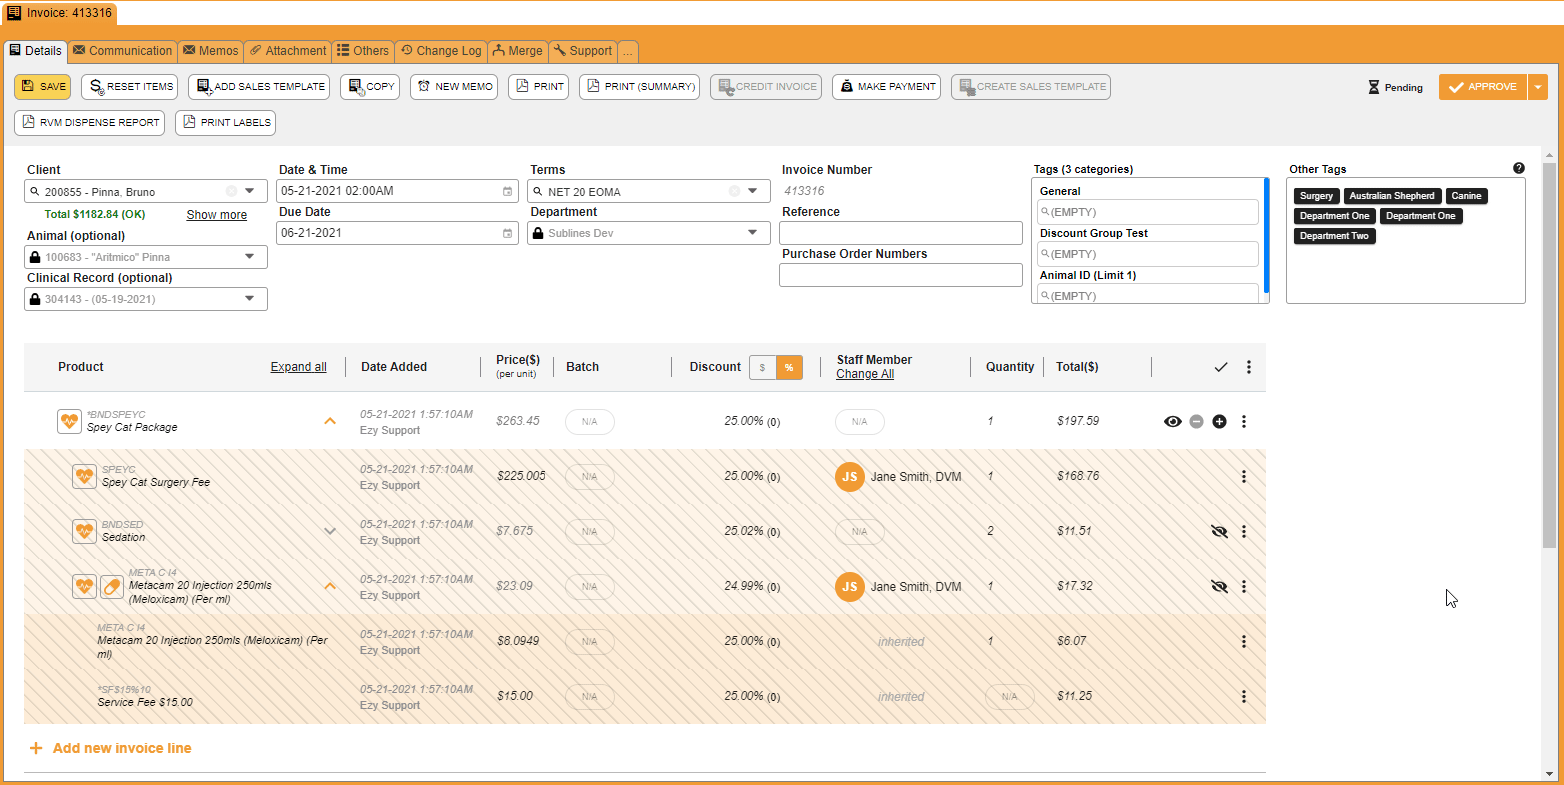
Invoice line items provide even more insight into what you're billing clients. The expandable and collapsible function allows you to have control over what you can show a client without missing any charges or losing valuable information.
Visibility into what's included within the invoice has two components to it:
For Internal Use
Expand a parent item to access the child sublines by selecting the '˅' arrow next to the product name or select Expand All to expand every line item in the invoice for you and your team to see what that client is being billed for. Having these expanded or collapsed has no affect on what the customer sees.
For Clients
Introducing a new hide icon in the left-hand column next to the + and - button , it's here where you can control what you want your client to sees on their invoice. If you select the button, notice that it changes to a 👁 , and if you select it again it changes to a $. Each of these icons represents a different level of visibility for the client, which is dictated on a line-by-line basis.

If this state is selected for the invoice line item your client will only see the parent line with no pricing included, ideal for providing an high-level overview to your client without getting into the nitty-gritty details.
If this state is selected for the invoice line your client will see the parent line and the child lines but will only see the total price, not a breakdown of the individual components, ideal for providing a more detailed overview to your client without getting lost in the pricing detail.
If this state is selected for the invoice line your client will see everything; parent line detail with overall price and childline detail with an individual price breakdown, ideal for providing a detailed invoice to your client that wants to know all the nuts and bolts that went into their animals care.
Want to learn more?
Dive deeper with the ezyVet Help Guide for more information on customizing what your customers see on an invoice. Head to the Help Tab in your ezyVet site and search Print modes of invoice line items (v30).
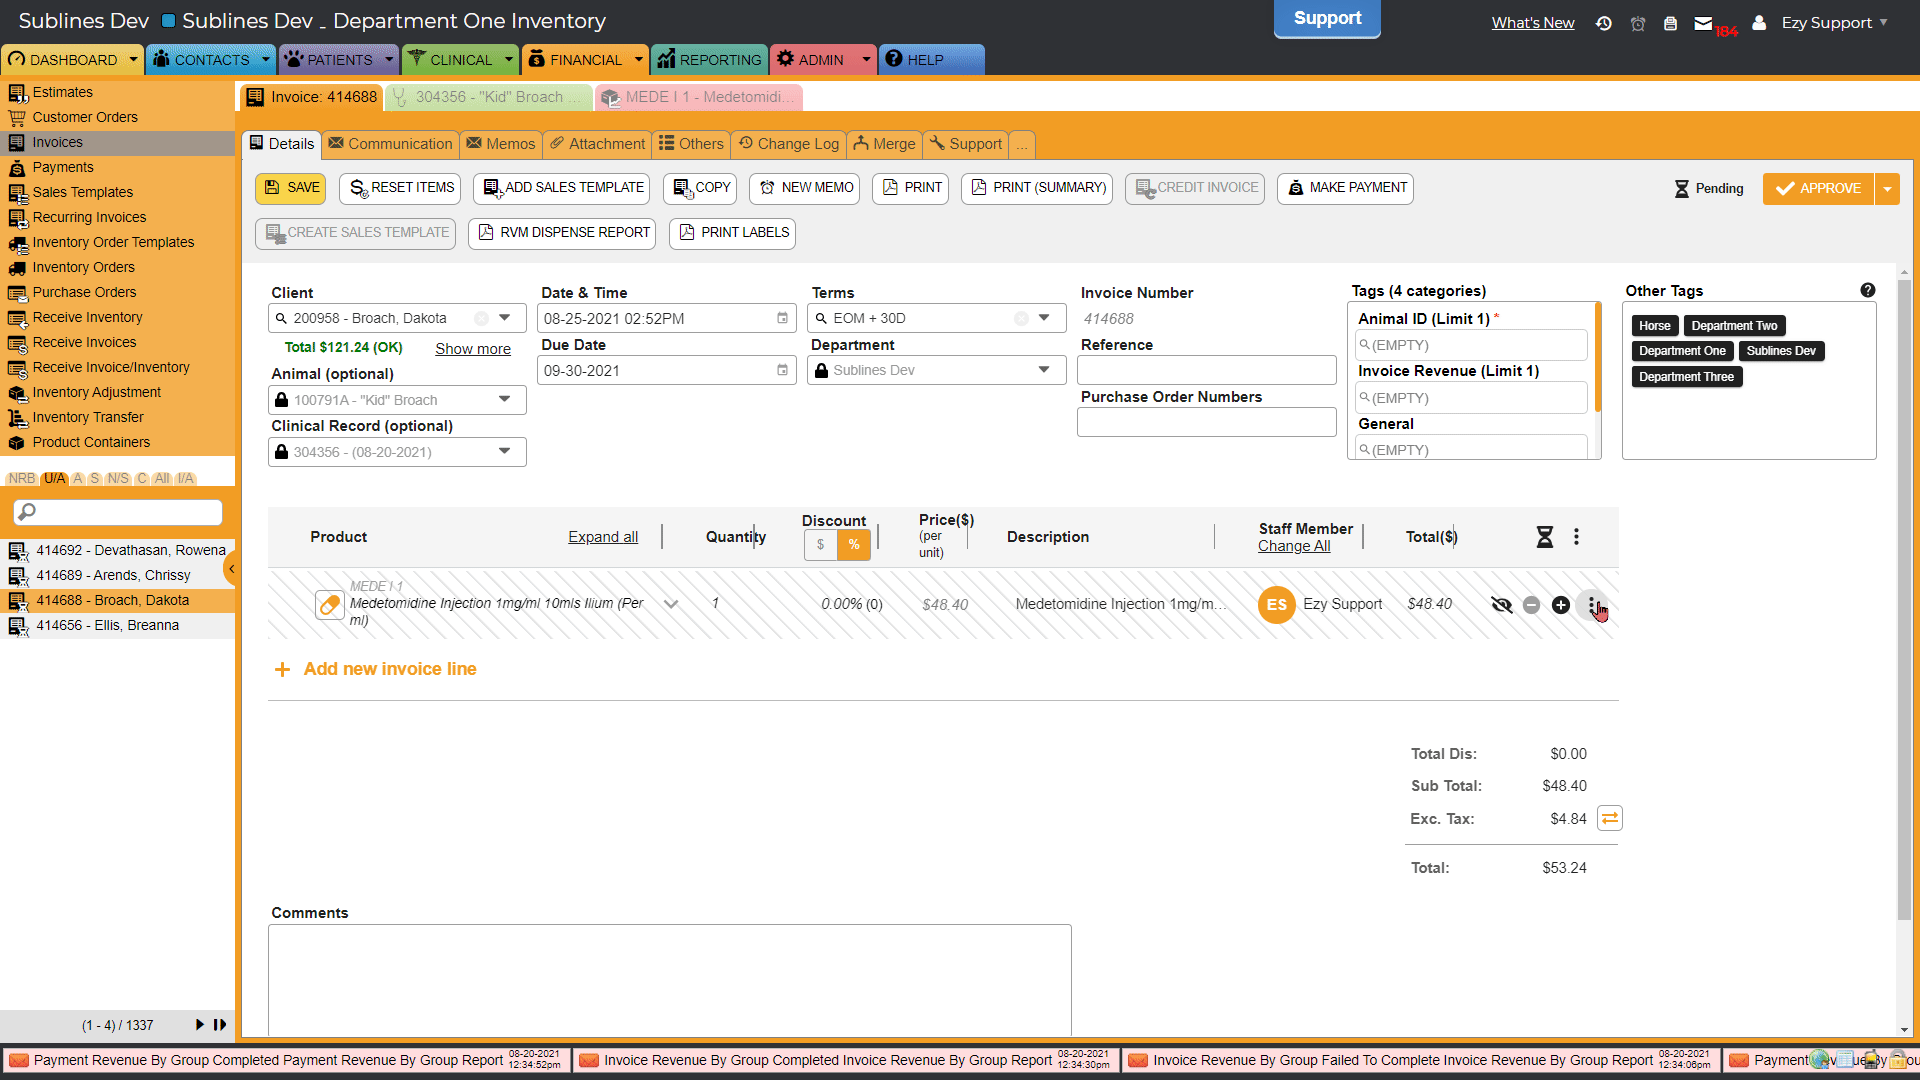
Have full control of the invoice screen layout, no more scrolling, define what you want the team to see. As an ezyVet admin, you have the ability to create a default invoice template for your team to use.
Setting up your Default Invoice Column Layout
Helpful Hint: The column size is now fully adjustable, simply hover your mouse over the column separators in the invoice header until you see your cursor change to the expand symbol and drag the line to adjust the column size.
Want to learn more?
Dive deeper with the ezyVet Help Guide for more information on customizing the layout of your invoice. Head to the Help Tab in your ezyVet site and search Change the default sequence and visibility of invoice columns.
This default will only take effect automatically for new users, existing users will need to reset their invoice settings.
Helpful Hint: Staff members have the ability to overwrite the Default Invoice Column Layout by selecting their own columns using this method.
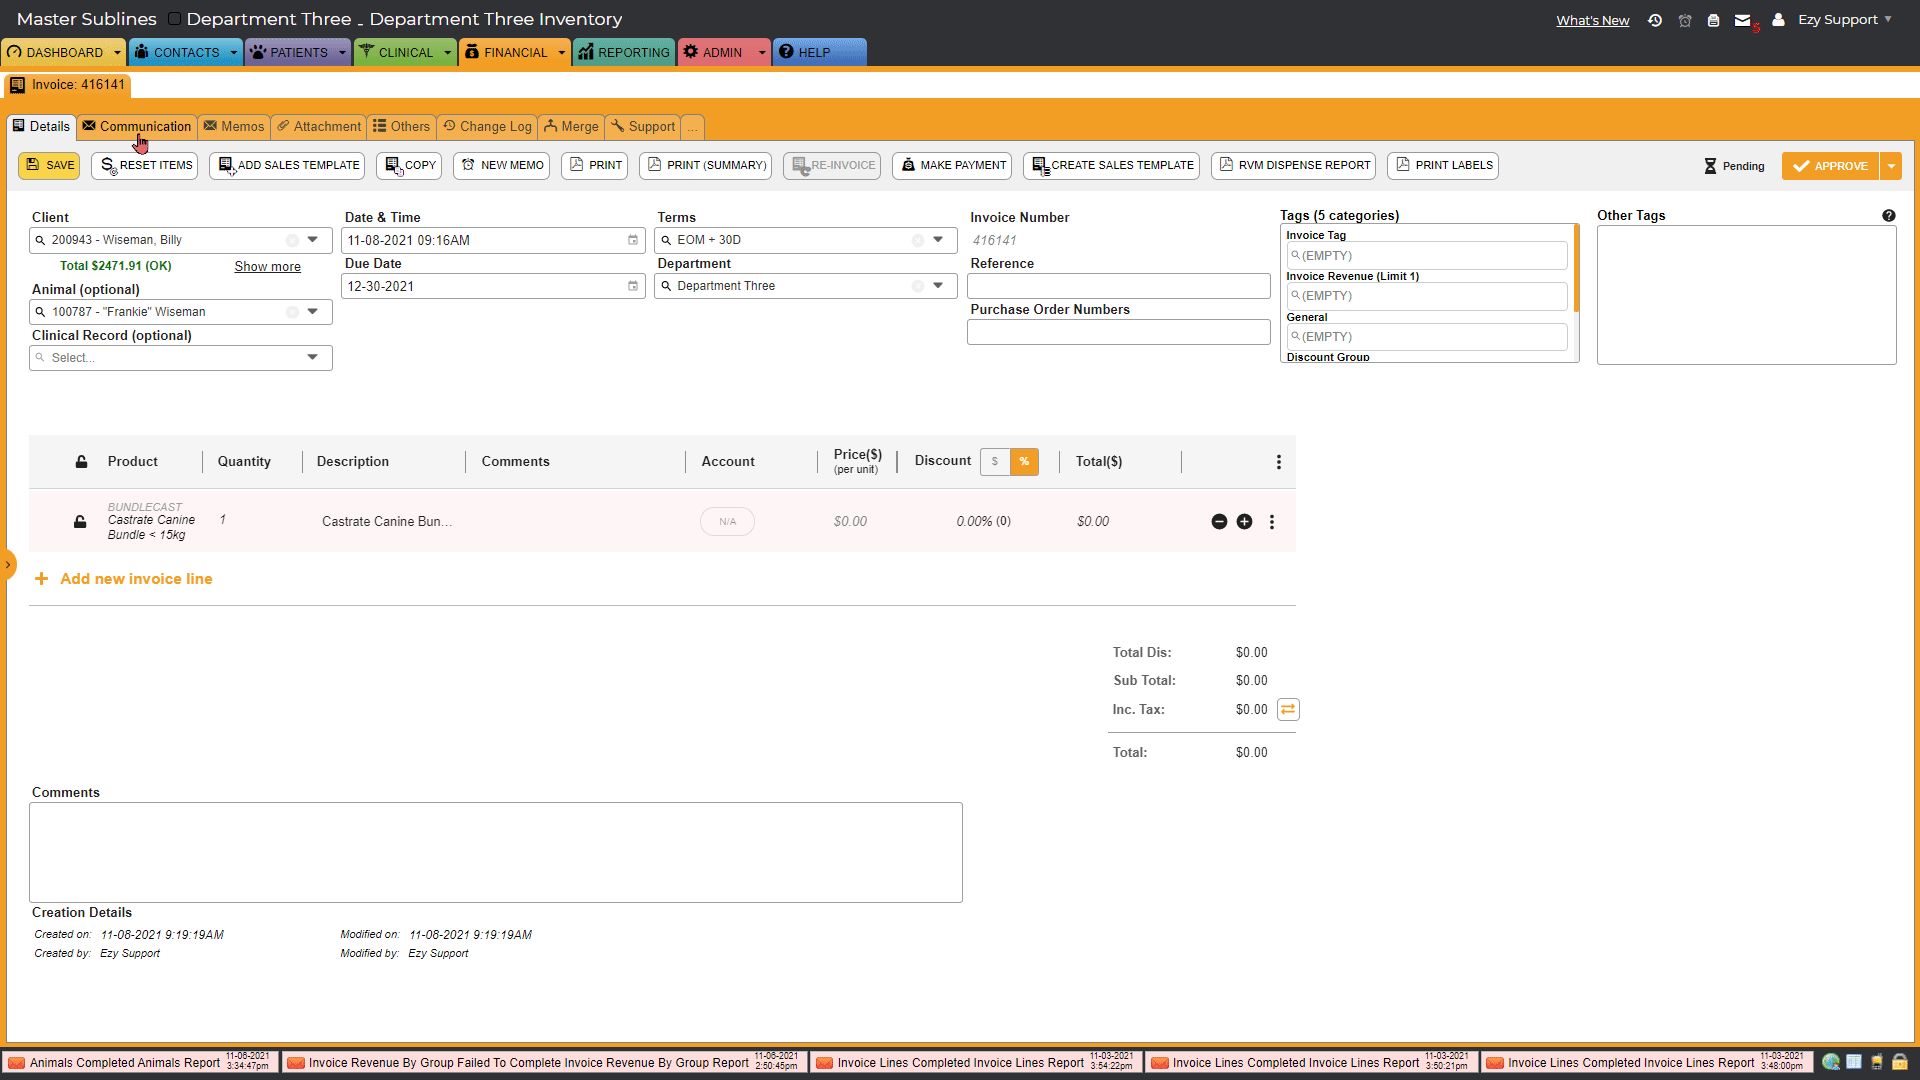
New flexible discounting put your staff in the driver's seat; with the ability to apply discounts by the bundle, per individual item, or even the whole thing, all directly from within the invoice screen.
Upcoming changes:
How to Navigate Bulk Edit Mode
Helpful Hint: Hover your mouse over the discount and a pop-up appears to provide insight into the discount applied so that your team can stay on top of what adjustments have been made.
Want to learn more?
Dive deeper with the ezyVet Help Guide for more information about bulk edit mode. Head to the Help Tab in your ezyVet site and search Set the discount of many invoice line items at the same time (v30)
Obtain greater visibility over which section within ezyVet the billing trigger came from and make changes directly from the invoice, simply;
Want to learn more?
Dive deeper with the ezyVet Help Guide for more information on Direct Access to Billing Triggers. Head to the Help Tab in your ezyVet site and search Source records of invoice line items (v30)
Version 30 allowed us to create a clean and simplified invoice screen. When needing to print a label directly from the invoice screen these now have a new home.
How to print labels directly from the invoice screen
Note: If you have ezyPrint configured the pop-up window will pop-up and then disappear and the label will print automatically.
Want to learn more?
Dive deeper with the ezyVet Help Guide for more information on Printing labels directly from the invoice Head to the Help Tab in your ezyVet site and search 'Print a label of an invoice line item'.
If your practice was using the markup column within the invoice screen of legacy ezyVet, this now has a new home. To start using this functionality within V30 follow the steps outlined below: